Understanding Vape Coils and Their Role
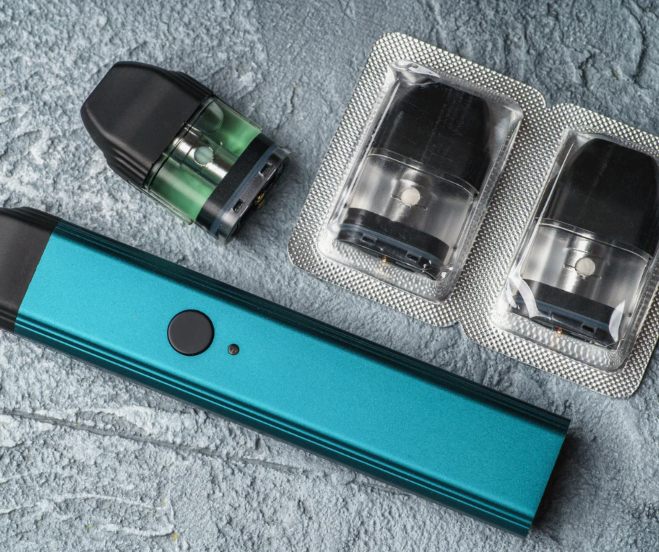
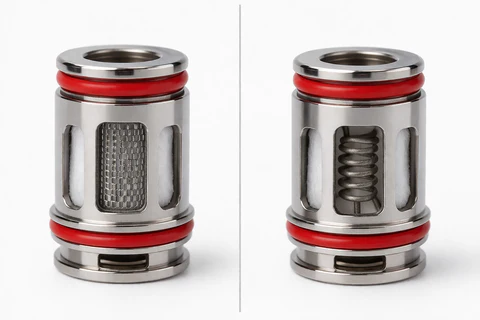
Vape coils are one of the most essential components of any vaping device, directly responsible for producing vapor and delivering flavor. A coil is a small piece of wire wrapped in a spiral shape, usually surrounded by a cotton wick. When the device is activated, the battery sends power to the coil, heating it up. The cotton wick absorbs the e-liquid, and as the coil heats, it vaporizes the liquid into the clouds you inhale.
Over time, coils naturally wear out. This happens because of residue buildup from e-liquids, especially those with high sweetness or thick consistency. As the residue accumulates, it affects both the taste and performance of your vape. You might notice a burnt flavor, reduced vapor production, or a gurgling sound—these are all signs that your coil needs replacement.
Understanding how coils function helps you maintain your device properly and ensures a consistent vaping experience. Regular coil replacement is not just about taste—it also protects your device from unnecessary damage.
Signs It’s Time to Replace Your Vape Coil
Knowing when to replace your vape coil can make a huge difference in your overall experience. One of the most obvious signs is a burnt taste. This occurs when the cotton inside the coil is no longer properly saturated or has been damaged due to prolonged use.
Another indicator is reduced vapor production. If your device is no longer producing thick, satisfying clouds like it used to, the coil may be clogged or worn out. Similarly, a noticeable drop in flavor quality is a clear signal. Your favorite e-liquid might start tasting dull or even unpleasant.
You may also hear unusual sounds such as gurgling or popping. While some noise is normal, excessive sounds can indicate flooding or coil degradation. Additionally, if your device starts leaking more than usual, it could be due to a failing coil that can no longer regulate e-liquid properly.
On average, a vape coil lasts between one to two weeks, depending on usage habits, e-liquid type, and power settings. Heavy users or those who prefer sweet flavors may need to replace coils more frequently.
Step-by-Step Guide to Replacing a Vape Coil
Replacing a vape coil might seem intimidating at first, but it’s actually a simple process once you understand the steps. Start by turning off your device to ensure safety. Then, disassemble the tank by unscrewing it from the battery and opening the base.
Next, remove the old coil. It is usually screwed into the base of the tank, so you can simply twist it out. Be careful, as it may still contain some e-liquid. Once removed, take your new coil and prime it before installation. Priming involves adding a few drops of e-liquid directly onto the cotton openings of the coil. This step is crucial as it prevents dry hits and extends the life of the coil.
After priming, screw the new coil into place securely but avoid overtightening. Reassemble the tank and fill it with e-liquid. Allow the device to sit for about 5–10 minutes so the coil can fully absorb the liquid.
When you start using the new coil, begin with lower power settings if your device allows it. Gradually increase the wattage to your preferred level. This helps the coil break in properly and ensures optimal performance.
Tips to Extend the Life of Your Vape Coil
Proper maintenance can significantly extend the lifespan of your vape coil and improve your vaping experience. One of the most effective tips is to always prime your coil before first use. Skipping this step is one of the main causes of burnt coils.
Avoid chain vaping, which means taking multiple puffs in quick succession. This doesn’t give the wick enough time to reabsorb e-liquid, leading to dry hits and faster wear. Instead, take steady, spaced-out puffs to allow proper saturation.
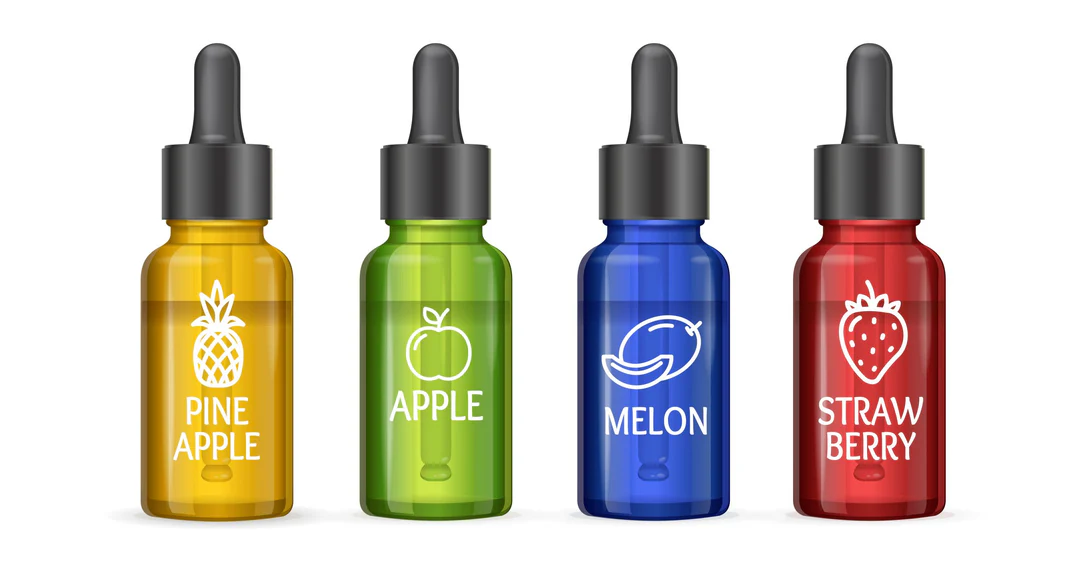
Using the right e-liquid also matters. High-sugar or very thick e-liquids tend to clog coils more quickly. If you want longer coil life, consider using cleaner, less sweet options with balanced VG/PG ratios.
Keep your tank filled adequately. Letting the e-liquid level drop too low can expose the cotton wick, causing it to burn. Regularly checking and refilling your tank helps maintain consistent performance.
Lastly, always use the recommended wattage range for your coil. Pushing your device beyond its limits may produce more vapor temporarily, but it significantly reduces coil lifespan and can lead to burnt hits.
By following these tips and replacing your coil at the right time, you can enjoy better flavor, smoother vapor, and a more satisfying vaping experience overall.